This website uses cookies to improve your experience while you navigate through the website. Out of these cookies, the cookies that are categorized as necessary are stored on your browser as they are essential for the working of basic functionalities of the website. We also use third-party cookies that help us analyze and understand how you use this website. These cookies will be stored in your browser only with your consent. You also have the option to opt-out of these cookies. But opting out of some of these cookies may have an effect on your browsing experience.
Installation Instructions: B6/B7 Audi A4/S4/RS4 Rear Differential Carrier Mount Insert Kit DIY - 034-505-2015
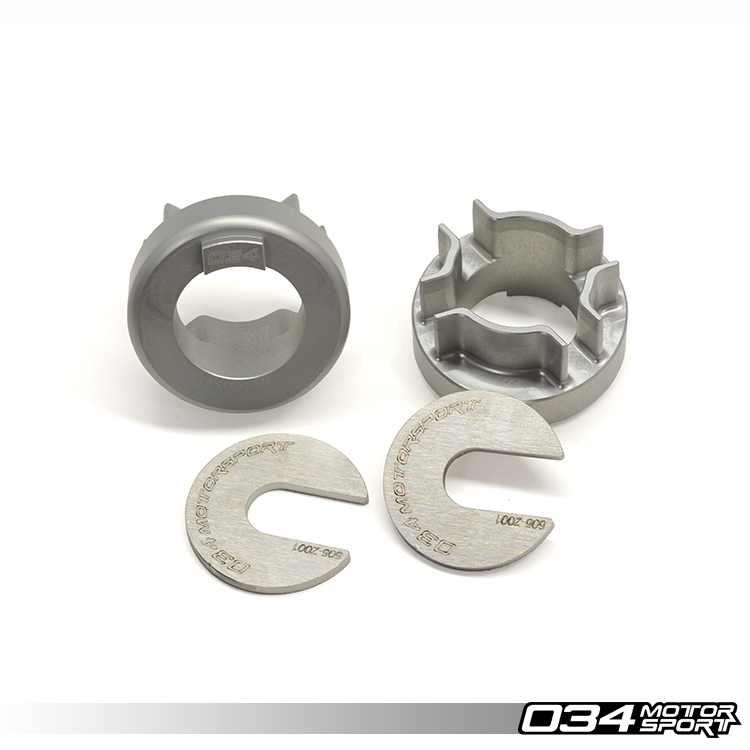
Supplied Parts:
- 034Motorsport Rear Differential Carrier Mount Inserts | Reduce Drivetrain Slop (2)
- 034Motorsport Rear Differential Carrier Mount Insert Securing Washers (2)
Tools Needed:
- Hands (Opposable Thumbs Are Optional)
- 18mm Socket
- Wrench
- Silicone Lubricant (Recommended)
- Ramps, Lift, or Jack & Jackstands
- Jack or Transmission Jack to Support Rear Differential
Step 0 – Raise the vehicle securely on jackstands, ramps, or a lift, in order to gain access to the rear differential carrier mounts. Support the rear differential. Make sure you have all tools necessary for installation of the differential carrier mount inserts. Give yourself a pep-talk in front of the bathroom mirror, reinforcing the fact that you are an expert enthusiast with a mechanical aptitude second only to Charlie Sheen’s. For good measure, take a selfie while you’re at it.
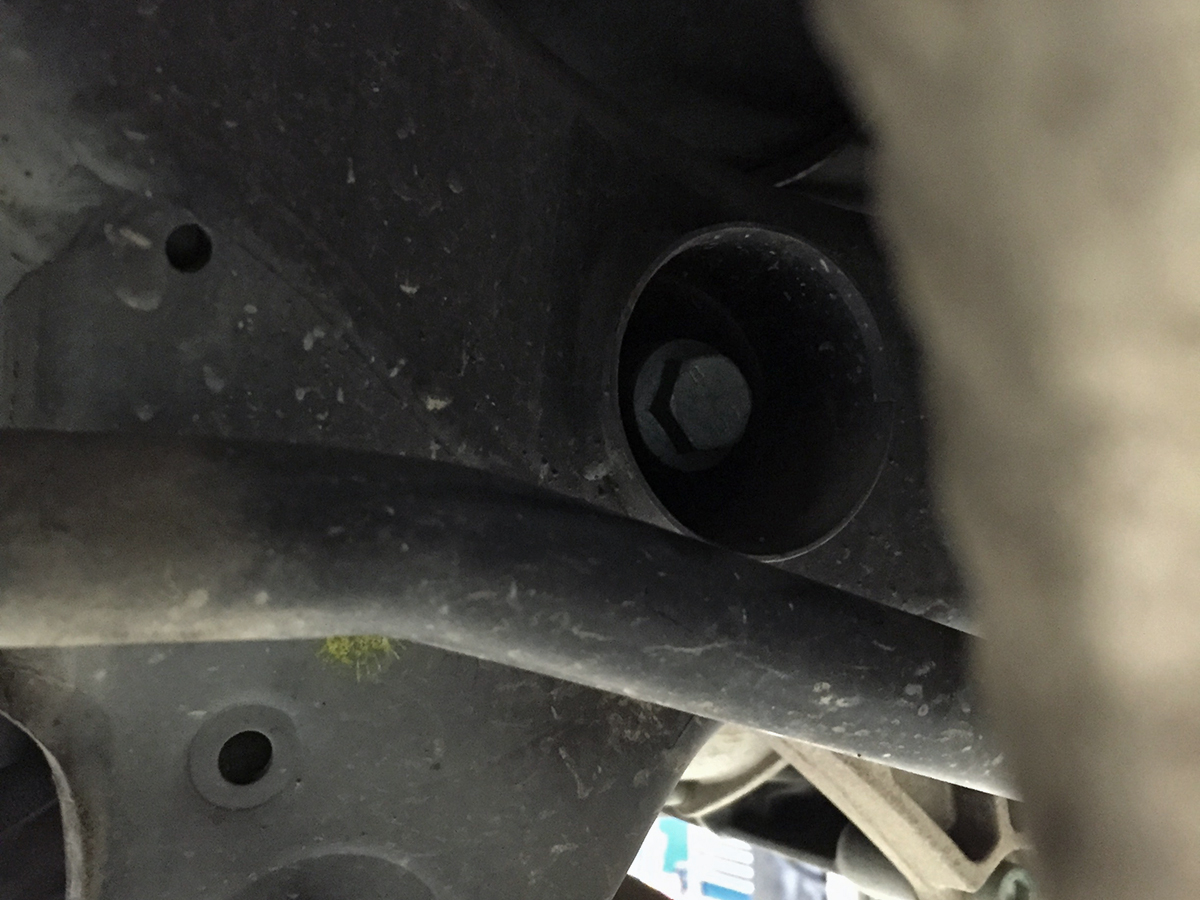
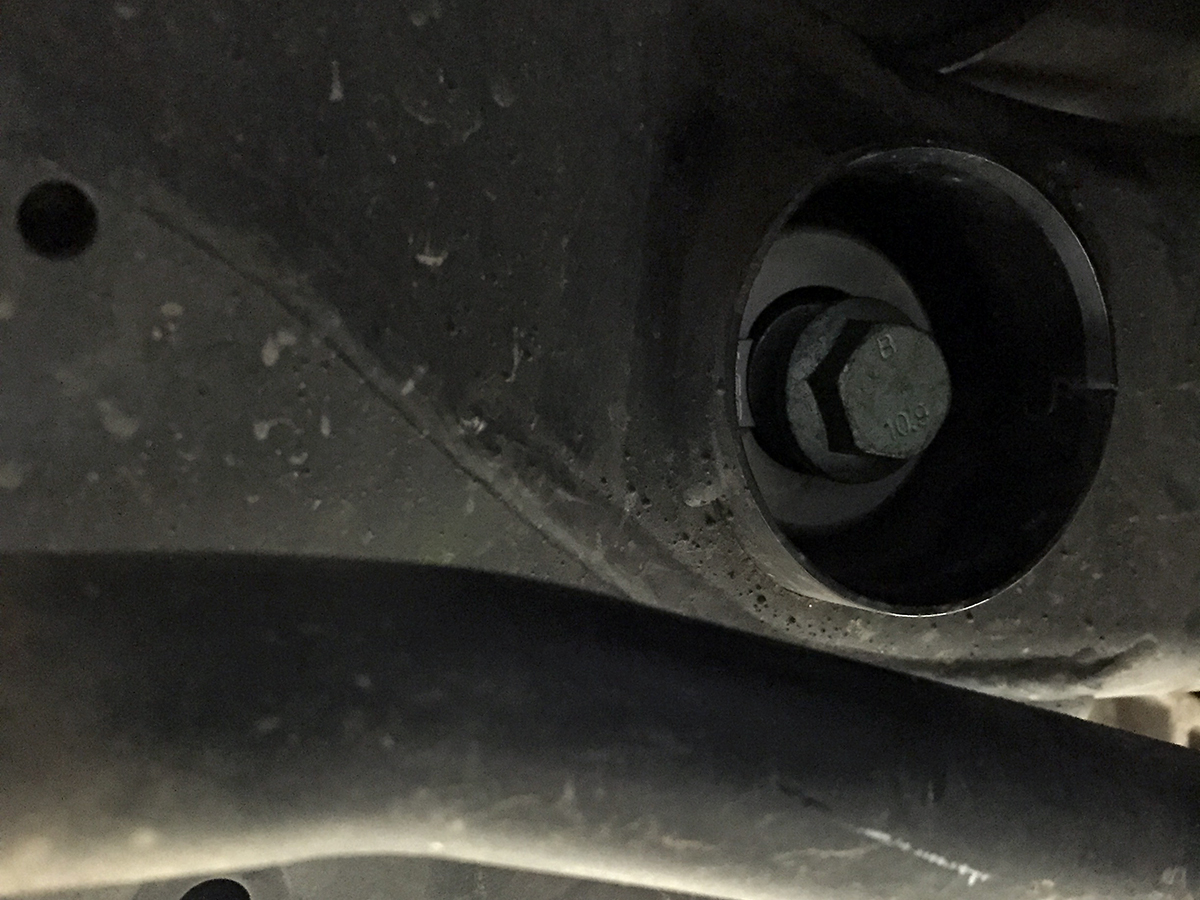
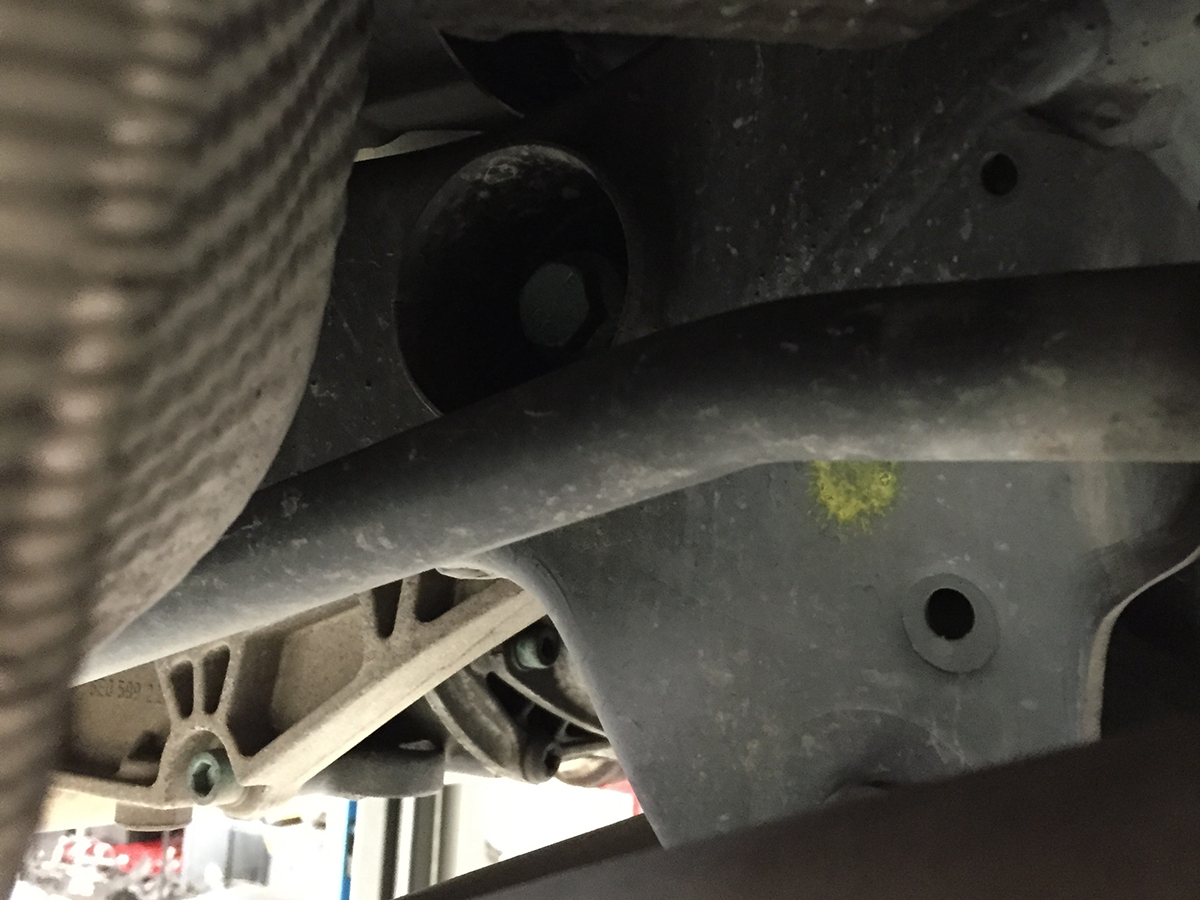
Step 1 – Locate the diff carrier mounts, and observe the two 18mm hex head bolts in their natural habitat. Be careful to avoid frightening the bolts. It is imperative that the bolts are relaxed and unaware of what is going to happen next.
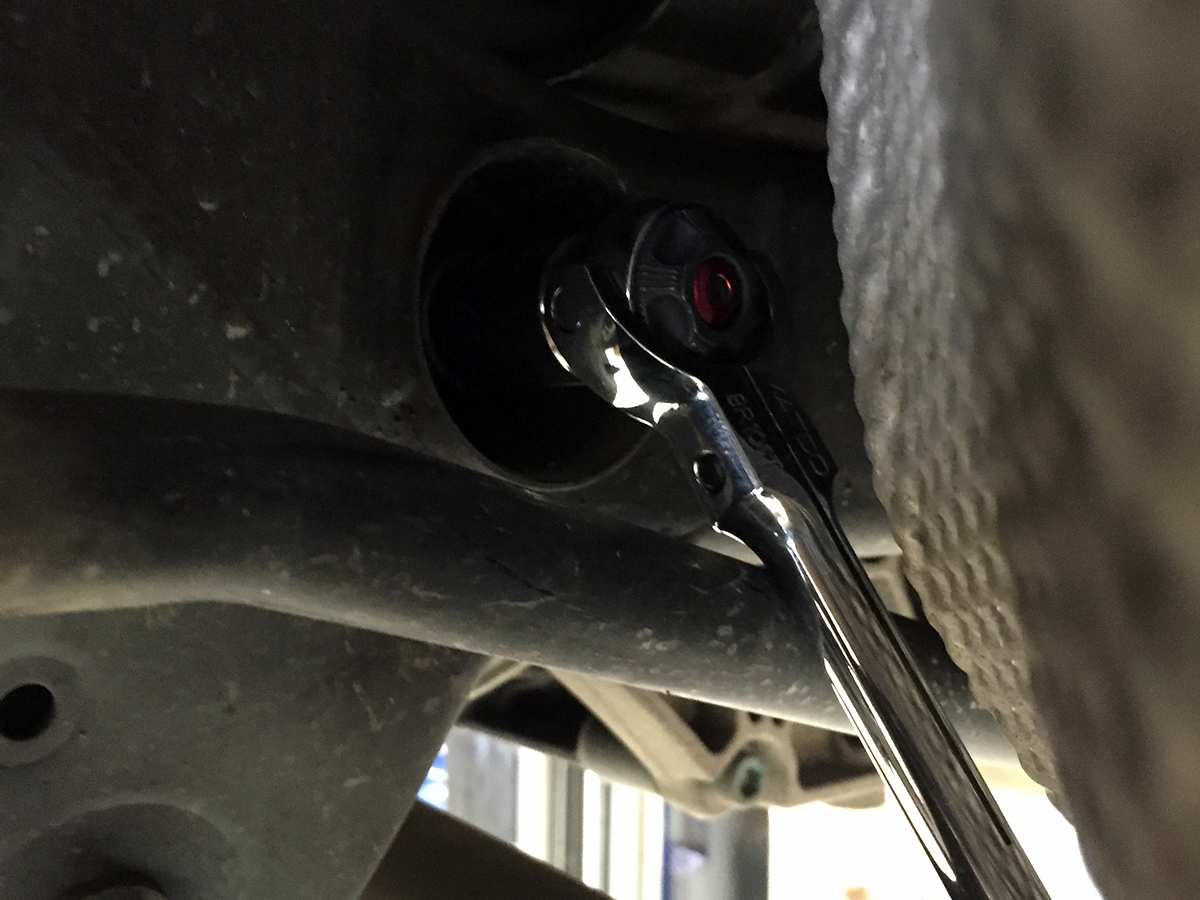
Step 2 – Pick a side to start on - left or right: you can choose your own adventure! – and loosen the 18mm hex head bolt going through differential carrier mount, and back it out as far as possible without unthreading it completely from the nut on the other side of the mount. Let the feeling of accomplishment overcome you..
Step 3 – Observe the rear differential carrier mount, and take note of the large void in the rubber. That can’t be good for performance, can it? Think of objects you can use to fill the void: old socks, yesterday’s newspaper, that weird quinoa stuff that your wife bought for $20 at Whole Foods, but nobody wants to eat. Panic. Remember that you bought the 034Motorsport Rear Differential Carrier Mount Insert Kit. Feel better.
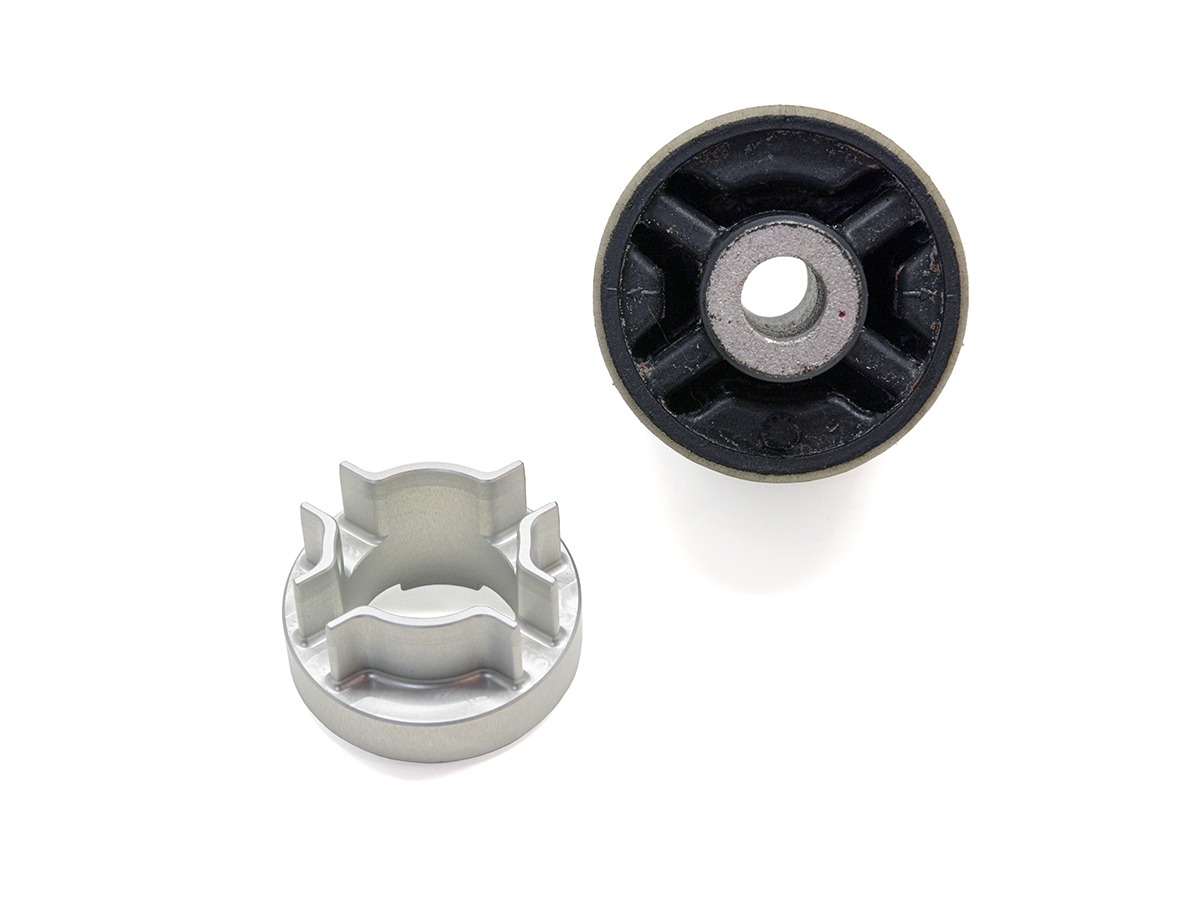
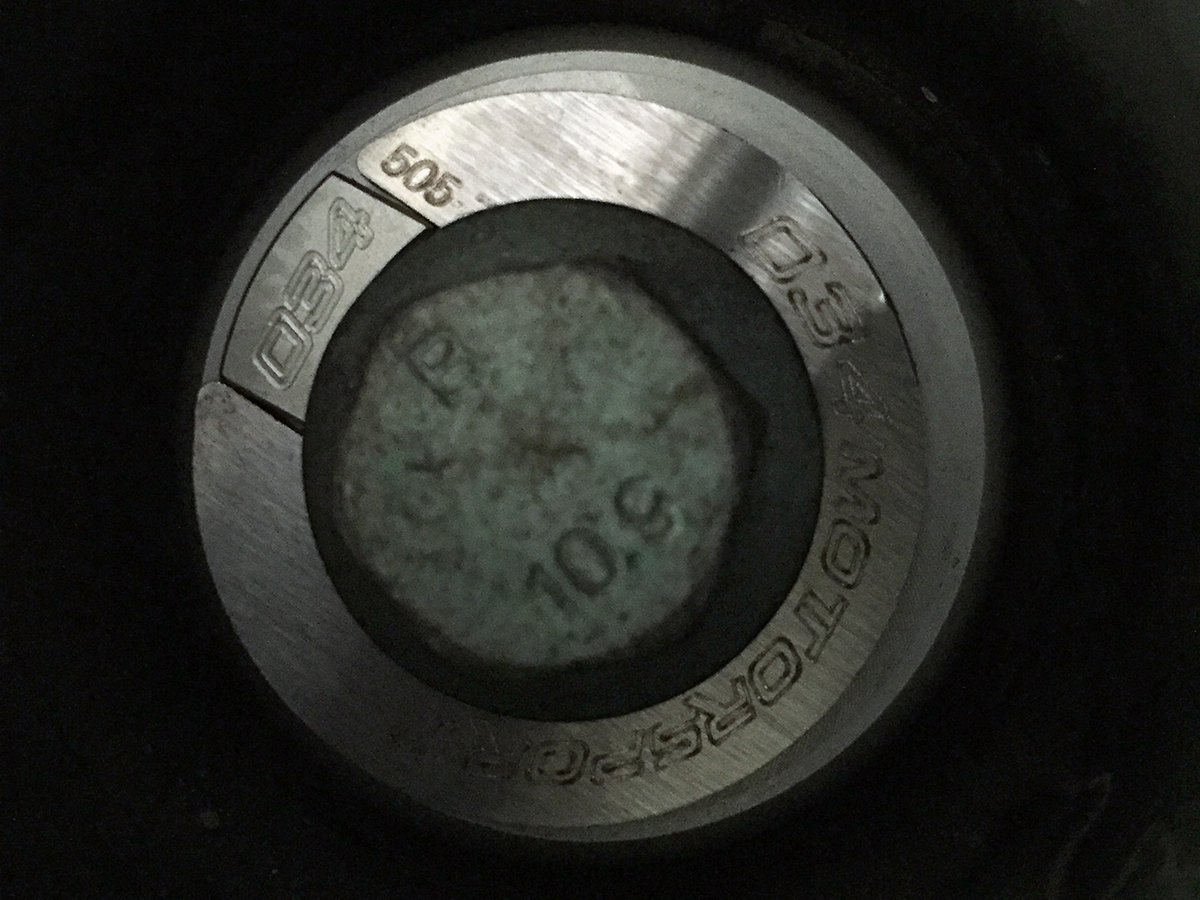
Step 4 – Slip the shiny new 034Motorsport Differential Carrier Mount Insert over the bolt head and into the void. The 034Motorsport logo should be rotated to either the left or right side to ensure that the insert lines up with the voids.
Step 5 – Slip the provided Securing Washer between the bolt head and Rear Differential Carrier Mount Insert, locking it into the notch on the insert. Secure the 034Motorsport Differential Carrier Mount Insert & Securing Washer using the 18mm hex head bolt you loosened in Step 2 and torque to 55 Nm. Yes, we provided an anchor link back to Step 2 so that you wouldn’t get lost. We’re nice people like that over here.

Step 6 – Marvel at your work.
Step 7 – Repeat the installation process on the other side of the rear differential carrier.
Step 8 – Lower your vehicle from the ramps, jackstands, or lift. Drive it.
Step 9 – Like the improvement? Leave a review for this part on our website! Want to tell more enthusiasts about this part? Post about it on AudiRevolution, AudiWorld, Audizine, Fourtitude, or QuattroWorld!